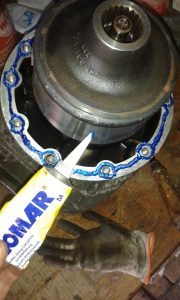
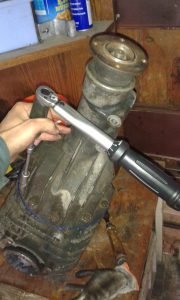
After a bunch of inquiries on how to remove a VC, we decided to document the process of replacing a broken VC.
The background for this approach is the official “VW Vanagon Factory Repair Manual”.
Note: This guidance is not an official repair manual – it is just our recommended way how to do it. And we assume that every bolt can get opened easily – just one rusted screw can change the situation drastically.
Approach: We recommend to remove the whole axle-transmisson, even if it’s possible to just remove the VC. One reason is that it’s quite hard to unscrew the bolts from the lid of the axle-transmission. The trickier problem though is to work properly, because it is possible that dirt falls in the open axle-transmission. Also we advice to change the tranny-oil (1,5 Liter 75W90 API GL-5).
Fastening Torque:
- Drive Shaft at Tranny: 35Nm
- Cardan Shaft at Tranny: 35Nm
- Axle-Transmission (M10): 45Nm
- Housing (M8): 20Nm
- Oil Filler Screw: 20Nm
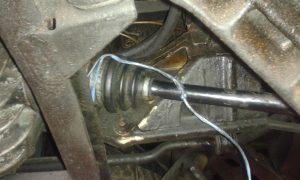
1) Unscrew the Drive Shafts
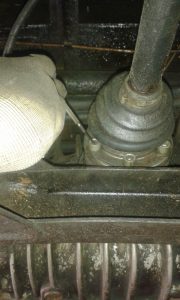
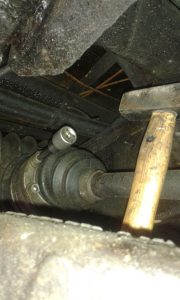
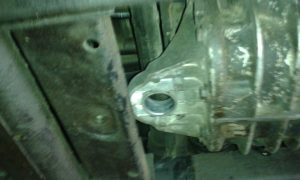
Start to remove the oily dirt in the bolt heads of the drive shaft. After cleaning use a hammer to get the torx or heaxagon tool in the screw. After removing the drive shaft a plastic bag safes the joint from dirt.
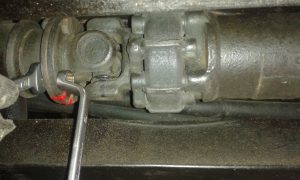
2) Remove the Cardan Shaft from the axle-tranny
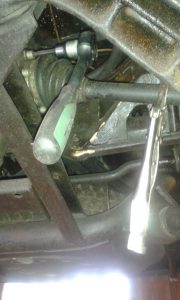
First mark the current installed position with some paint stick. Then unscrew the fine thread bolts. The nuts are self-locking ones and should get replaced (although no one ever does).
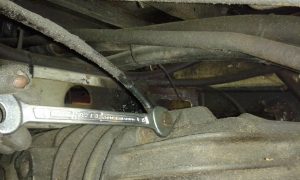
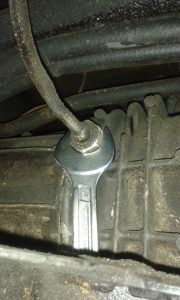
3) Ventilation and Speedometer cable removal
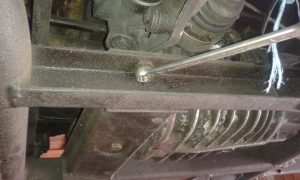
The ventilation of the transmission needs two copper sealing rings which should get replaced. The speedometer cable gets unscrewed with a 27 wrench.
Only if you have a front diff-lock:
Remove your diff-lock actuator and bracket before your remove the differential. It is very difficult to actually remove the front differential with the actuator attached and not break it.
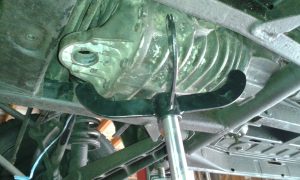
3) Remove the front tranny suspension
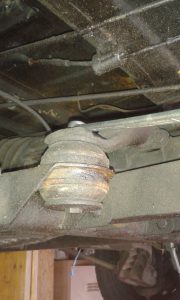
Remove both screws and the rubber bumper.
4) Remove the rear tranny suspension
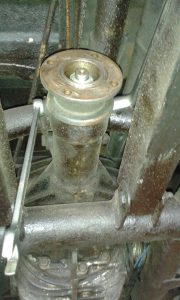
Remove the whole bent carrier and both rubber bumpers
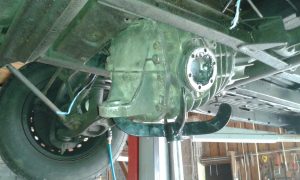
5) Remove Axle Transmission
Remove the Axle-Transmission to the front. Without having a transmission jack, it’s a work for two guys. The weight is not the problem, but the tranny can suddenly come down while shaking it.
The best way is to put the tranny first back (as far as possible) and then pull down
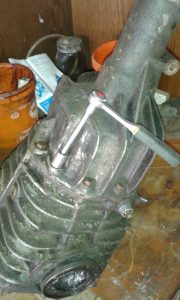
5) Changing the VC
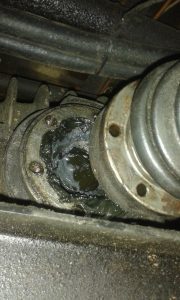
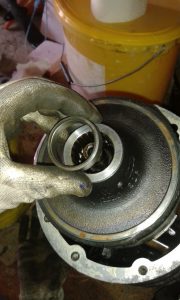
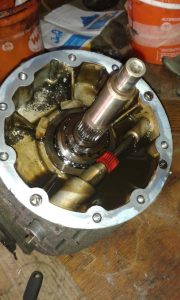
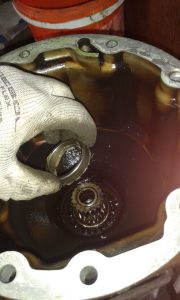
Unscrew all the M8 Bolts of the lid. With the help of a soft head hammer the lid can get open quite easily. Then remove the VC and the distance-ring. You can stick the distance-ring over the shaft using some grease.
 |
 |
After using some sealing, put in the new VC. And pay attention to the maximum torque (20Nm) of the srews – the aluminium-threads in the housing get damaged easily.
6) Mounting
Now the axle-transmission is ready for re-mounting. The cardan-shaft should get installed in the former position (the rubber-element shows either to the axle-transmission (Diesel) or to the engine (Gasoline).
Pay attention that you have to fasten the screws of the cardan shaft first and afterwards the suspension-screws of the axle-transmission! Otherwise you will experience serious vibrations.

